

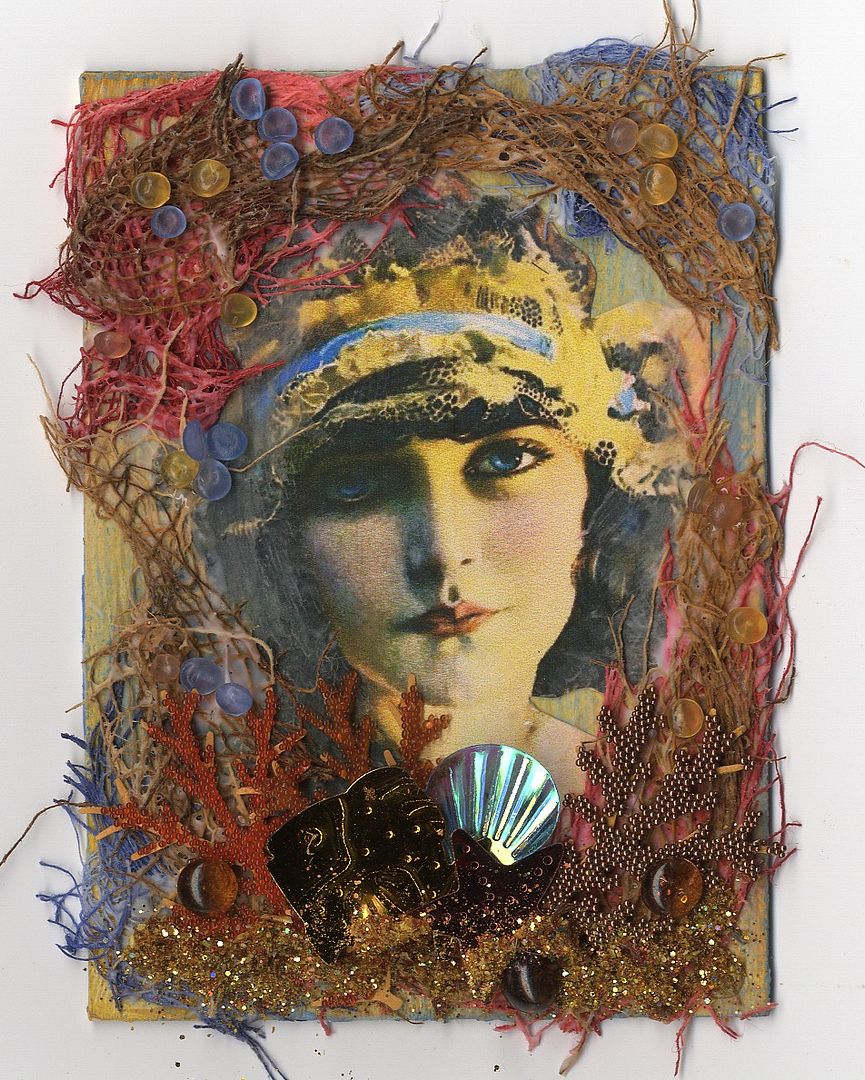
The inspiration for this card came from the headpiece in the woman’s hair. I decide to try to replicate its texture and thought of using cheesecloth.
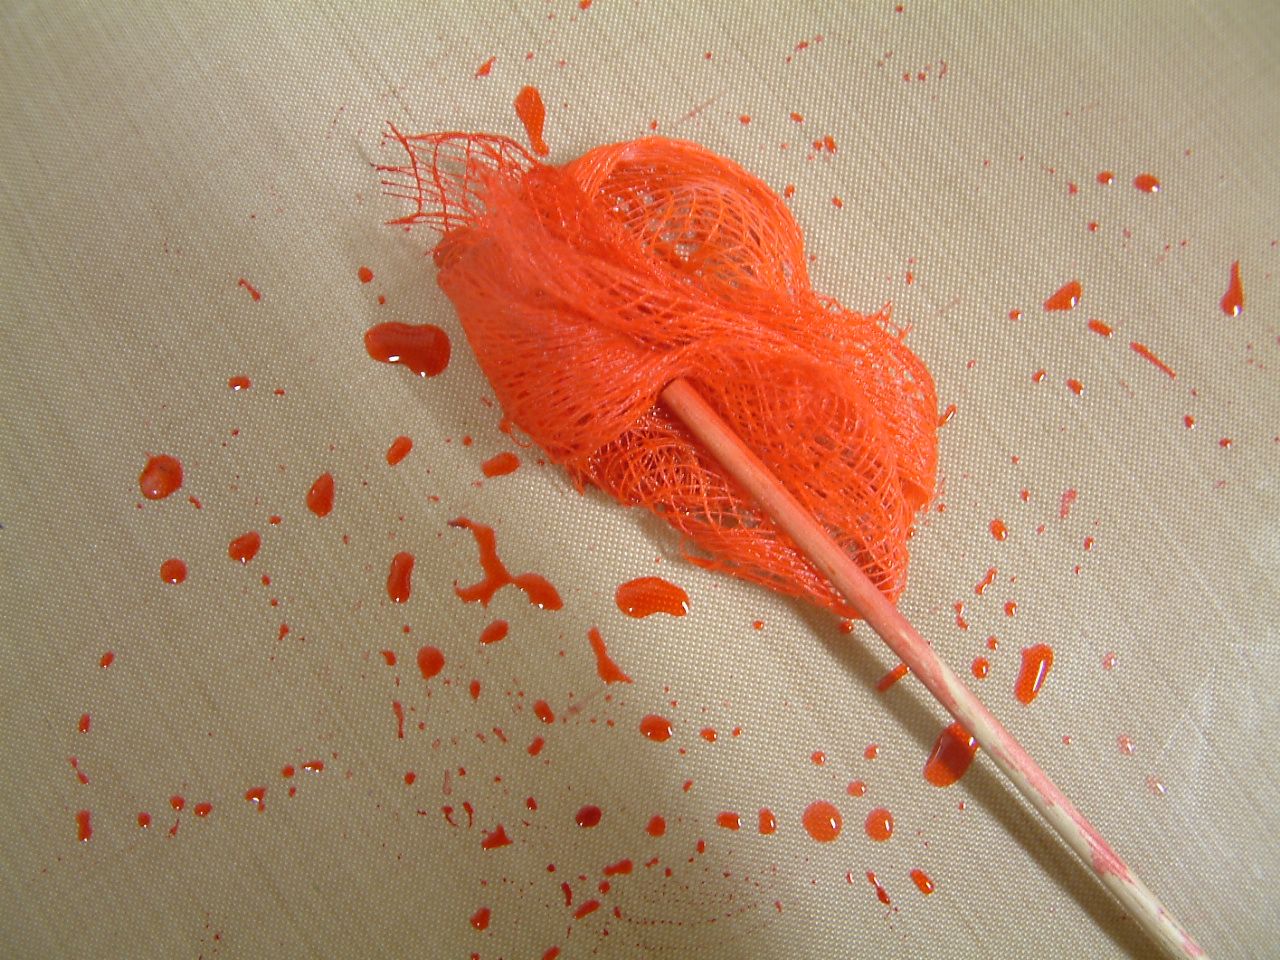
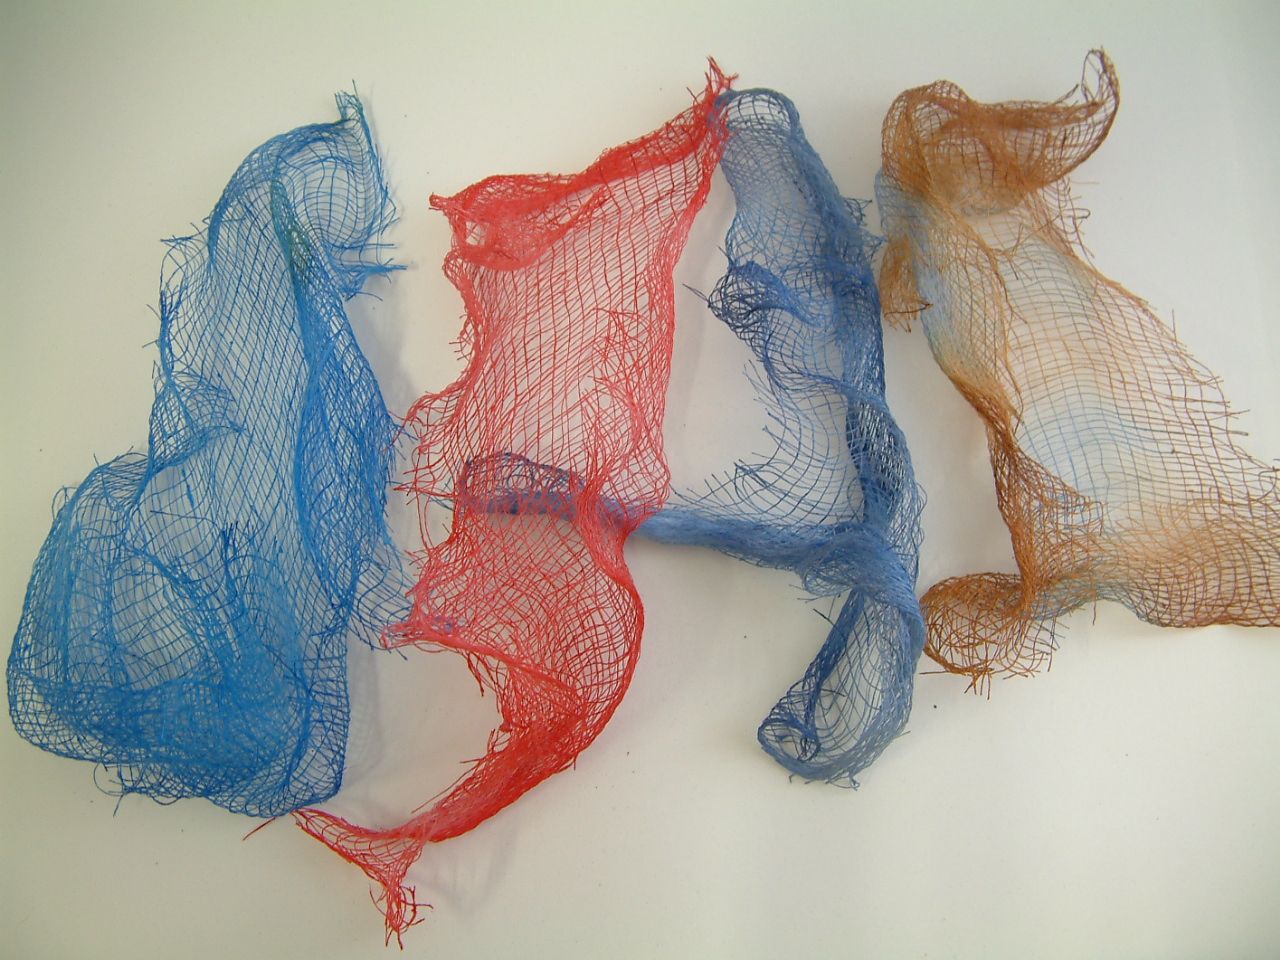
Next, I dyed strips of cheesecloth using Ranger Alcohol Inks. I squired the ink onto a non-stick craft sheet, added a little Ranger Alcohol Blending Solution, and dipped the cheesecloth into the ink moving it around with a wooden skewer. You can add more ink if you don’t feel the color is dark enough. I used rubbing alcohol (as it’s cheaper than the Blending Solution) to wipe off the craft sheet. I repeated the process with other colors. 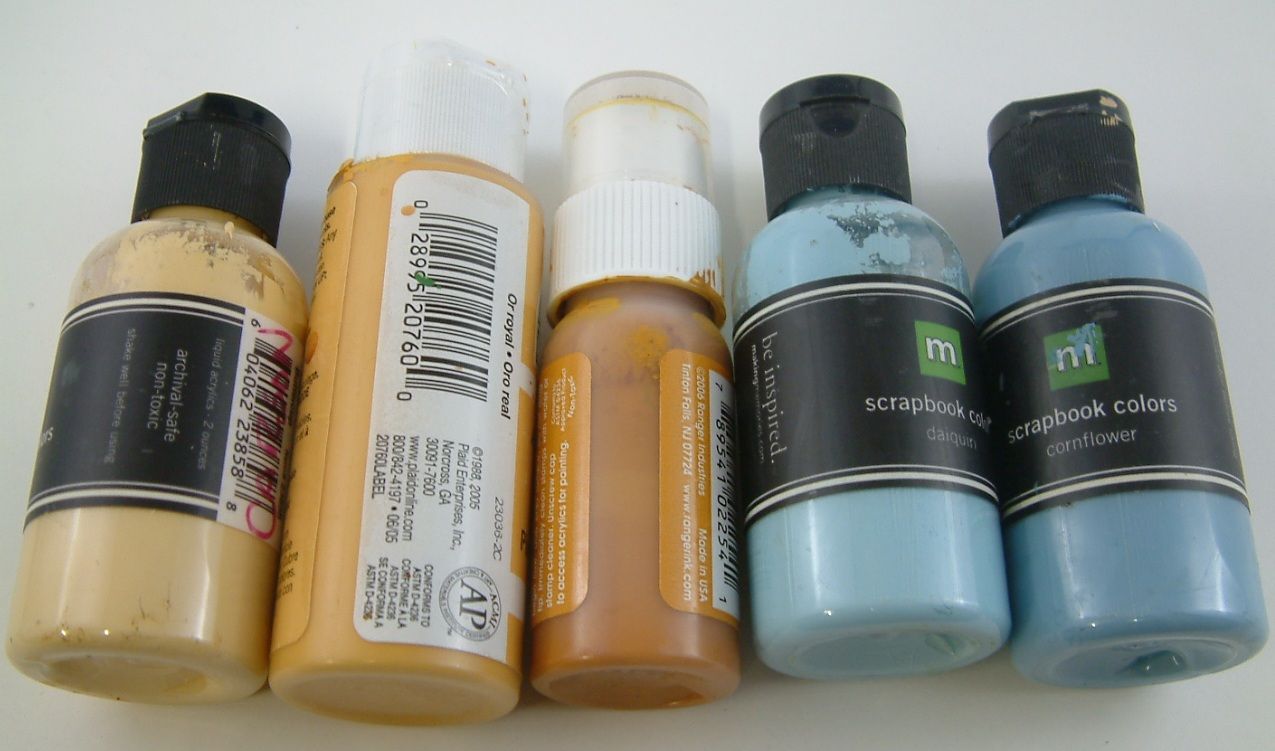
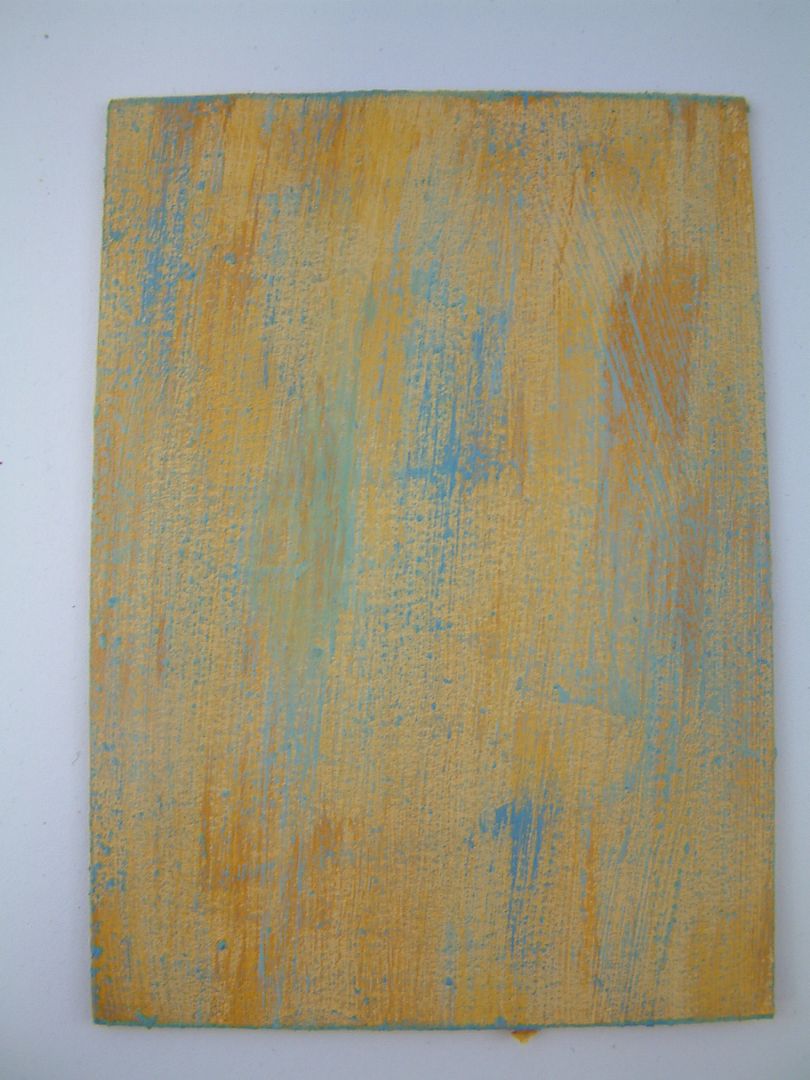
To create the background I dry-brushed chipboard backed white cardstock with yellow and blue paint. I went from light to dark starting with the lightest yellow and ending with the darkest blue.
I used Gel Matte Medium to glue the image to the background. I cut the dyed strips of cheesecloth into small pieces and used the Gel Matte Medium to clue the pieces to the card.
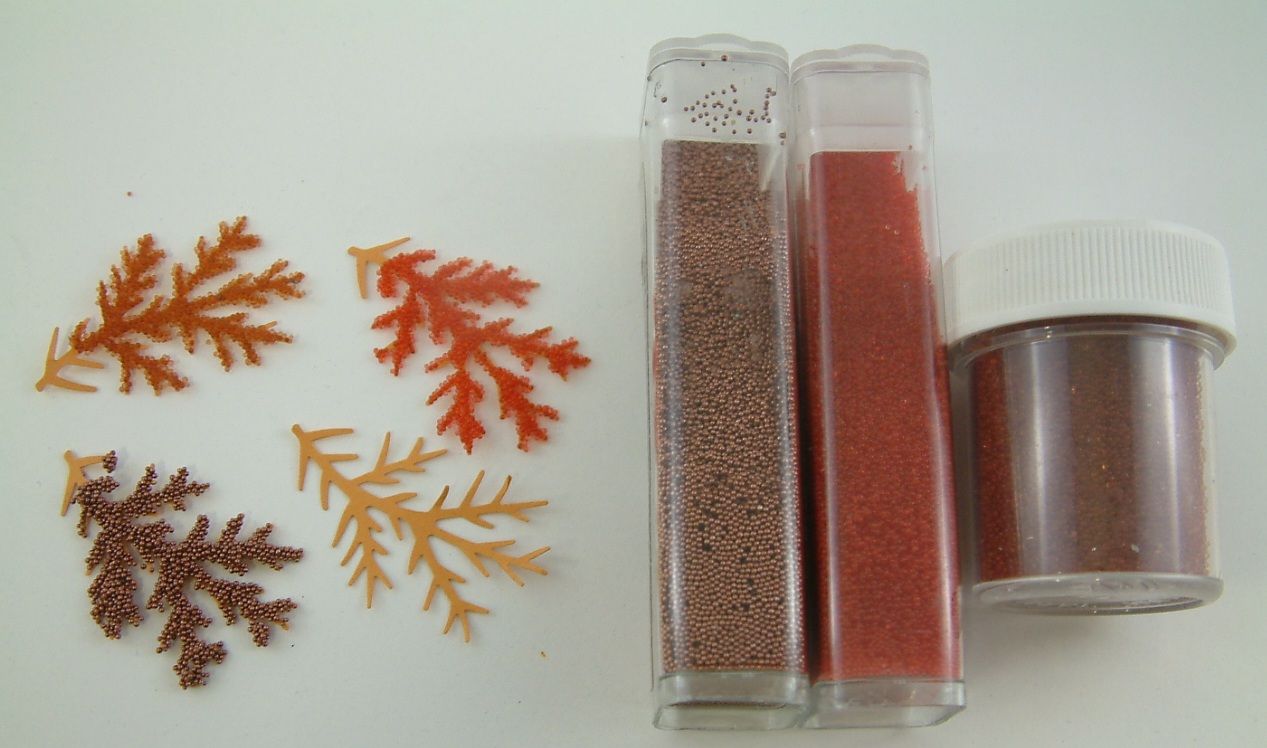
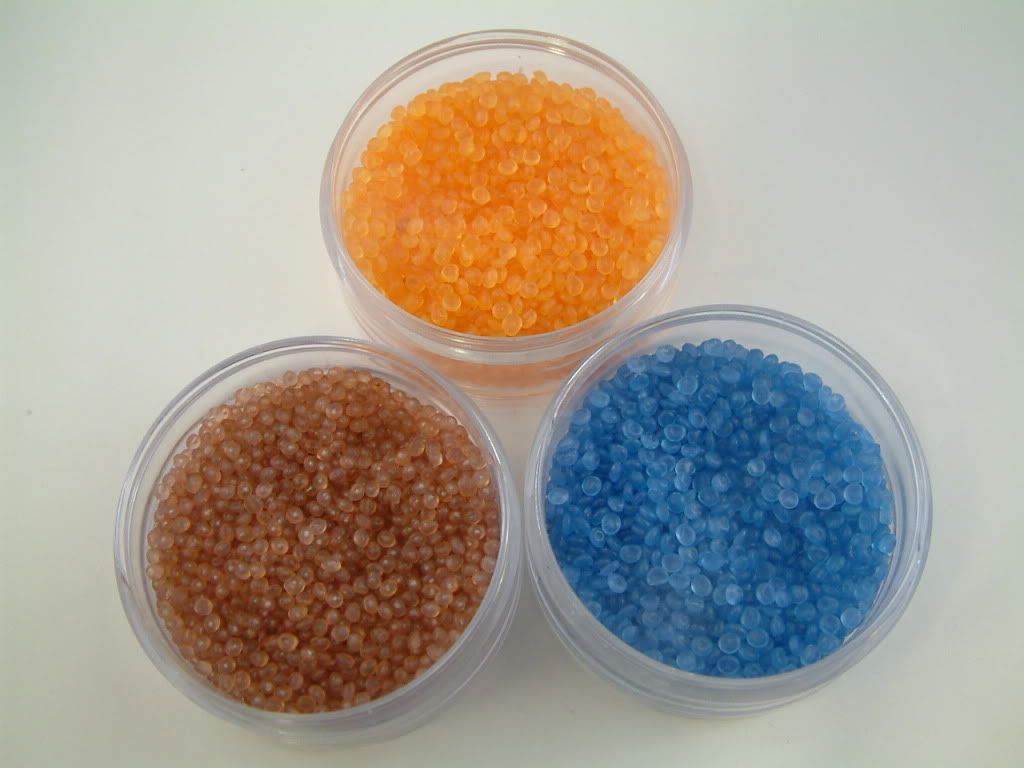
For embellishment I punched branches from cardstock and covered them with various colors of microbeads. I glued the branches to the bottom of the card. I also added colored pebbles and sequins.
The yellow sparkly material at the bottom of the card is called “Elements-Earth Textures”. I think it is some kind of dyed dirt and glitter mixture. You can purchase the product at the Glitter Art Institute.
17 comments:
Wonderful!! You must have the most well-equipped studio ever.
This piece is truly beautiful. I like the fact that you used so many textures, it all fits. Thank you for sharing. I will be back soon.
OMG..I love this and can't wait to get into the cheese cloth... Fabulous effect... BEAUTIFUL !!!!... HUGS
What a beautiful piece! The cheesecloth works so well and I love that glitter stuff.
Very nice, thanks for the walk through your process
Wow! great job.
Laura, thank you for the tutorial. I always like to learn something...and you are quite the laboratory over there. I must look around your blog for pics of your studio. You have such an inventory of supplies. Micro-beads are delicious as "coral".
You obviously have a craft room to die for.........totally wonderful piece of art, great textures. Thank you for sharing. x
Laura -
Thank you for the mini tutorial for this awesome piece of art. I love how this turned out and its nice to know how you achieved all that wonderful texture!
Elaine Allen
I have said it before and I am saying it again - I love the work you do. Love that lady, love all the texture - it is great!
Cheryl
Fantastic, made super special by your sharing the technique.
Hugs Joanne xx
Gorgeous, thanks so much for showing us how you did it!
Your details in dyeing the cheesecloth and using it as texture is what makes this ATC amazing. Sunshine Summer Smiles...
This is truly stunning! I love how you give tutes on your wonderful art work!
A beautiful ATC. Even prettier IRL. I'm so lucky to get one. Thanks for the tutorial too!
xox Kris
ps...I ADORE the Owl you sent me. I've just posted it with credits on my Halloween blog. ((HUGS))
Post a Comment