-->

Welcome

I love answering your questions. If you ask them in the comment section, I have no way to answer you (if you haven't heard from me, that is why). If you use the "EMAIL ME" in the left column of this page, I will be able to respond to you. You can also use it if you want to be added to my newsletter. Laura

Wednesday, February 27, 2013

Ancient Egyptian Themed Round Robin Book

The Creative Team has been pretty quiet lately; outside of the canvas books I’ve been posting.  Karol Taylor who is the boss of us all (by mutual agreement) has decreed that we start a round robin altered book project. 
In the early days, when the group started working on art projects together, (this was way before my blog) we participated in several round robin books.  Eventually, we migrated to other types of art.
Karol has brought us back to the beginning and once again we are creating altered books.  We’ve each chosen the theme for our book and will exchange books once a month; passing it on to the next person in the list.  I thought I would document the process; sharing what I receive with you and also using the things I do to the girl’s books as tutorials.  I’m hoping you will have fun following our project.
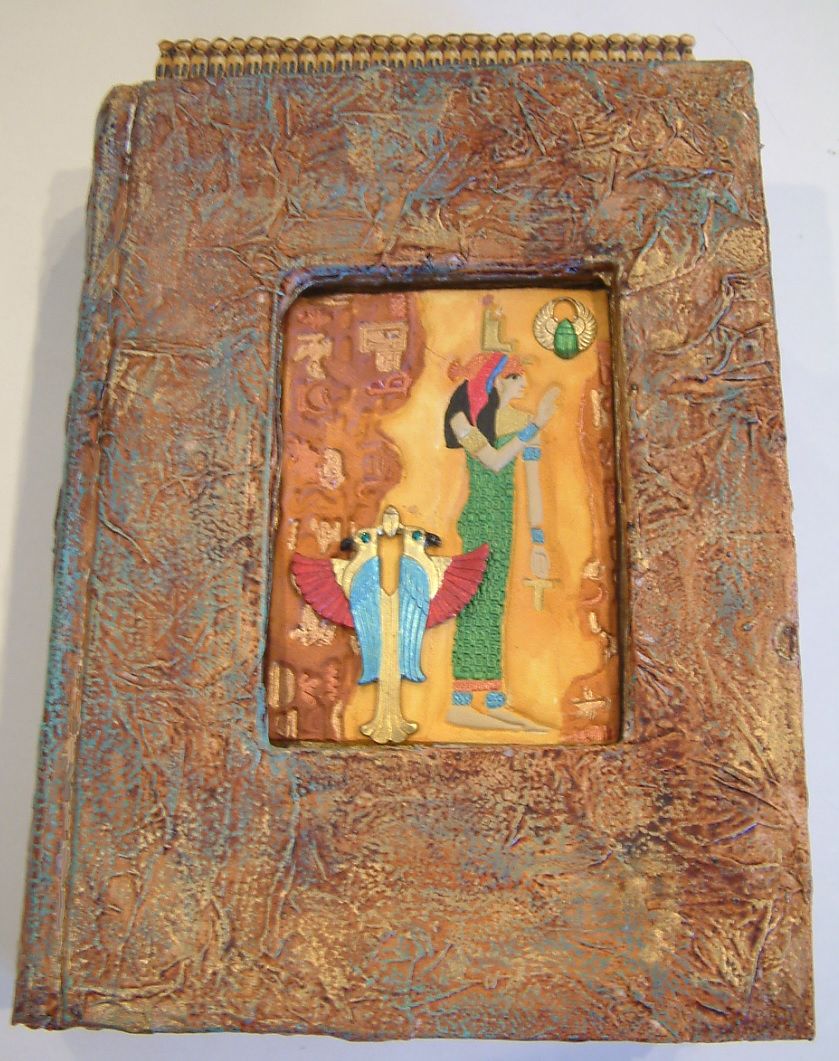
My choice of theme is ancient Egypt.  I started with a regular book 
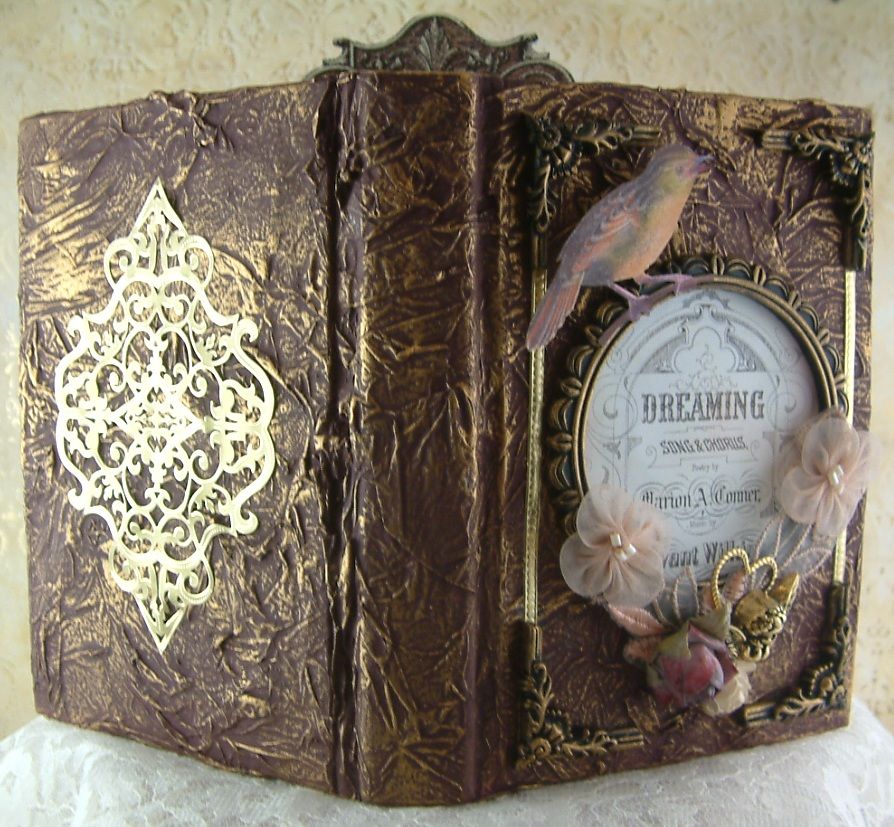
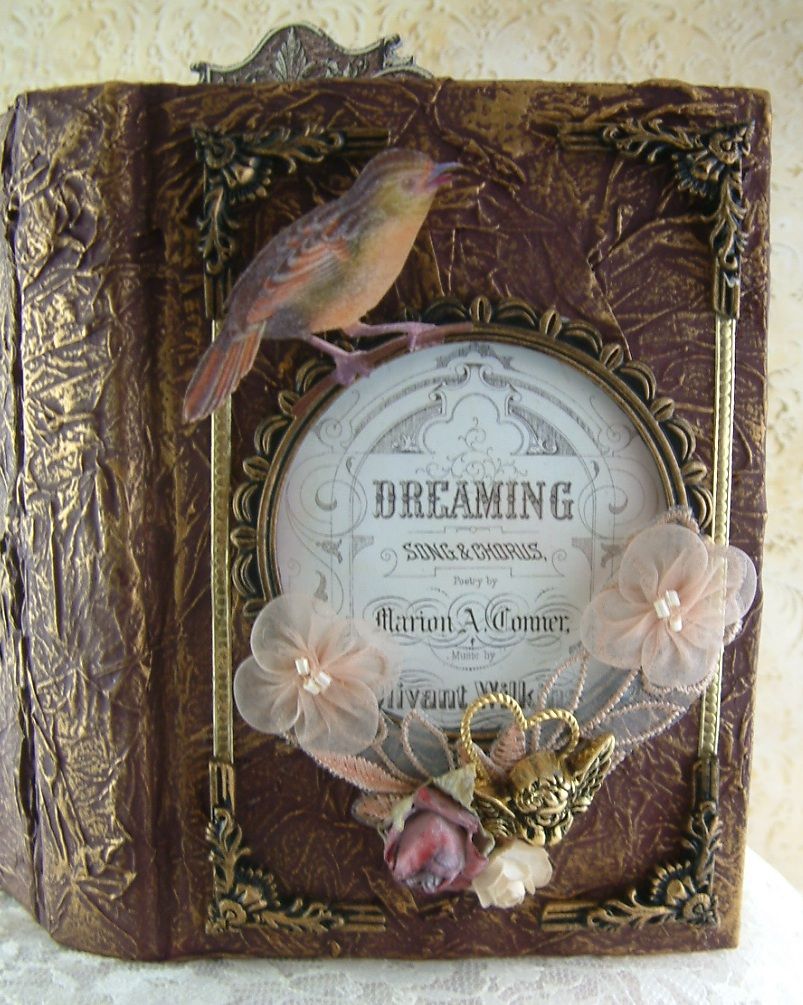
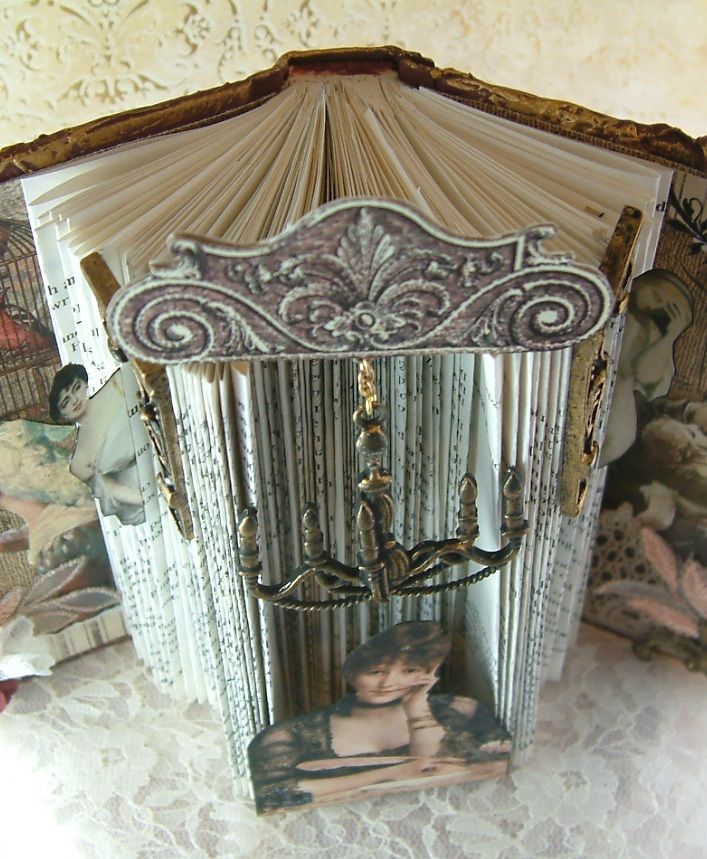
(actually and old Readers Digest Best Loved Book).  I added the texture to the cover using the 
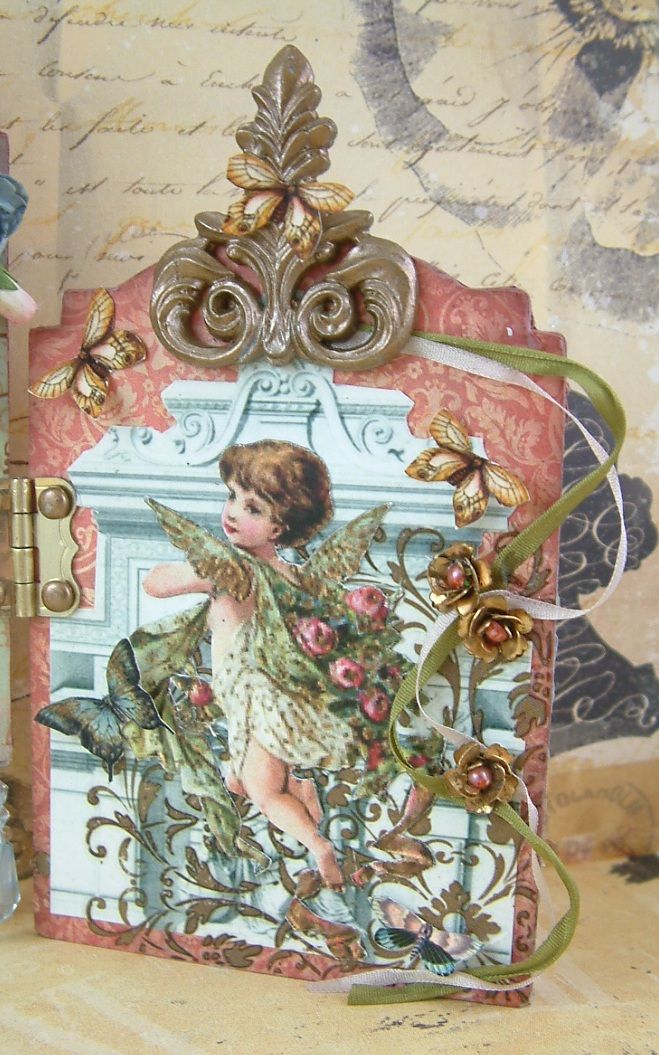
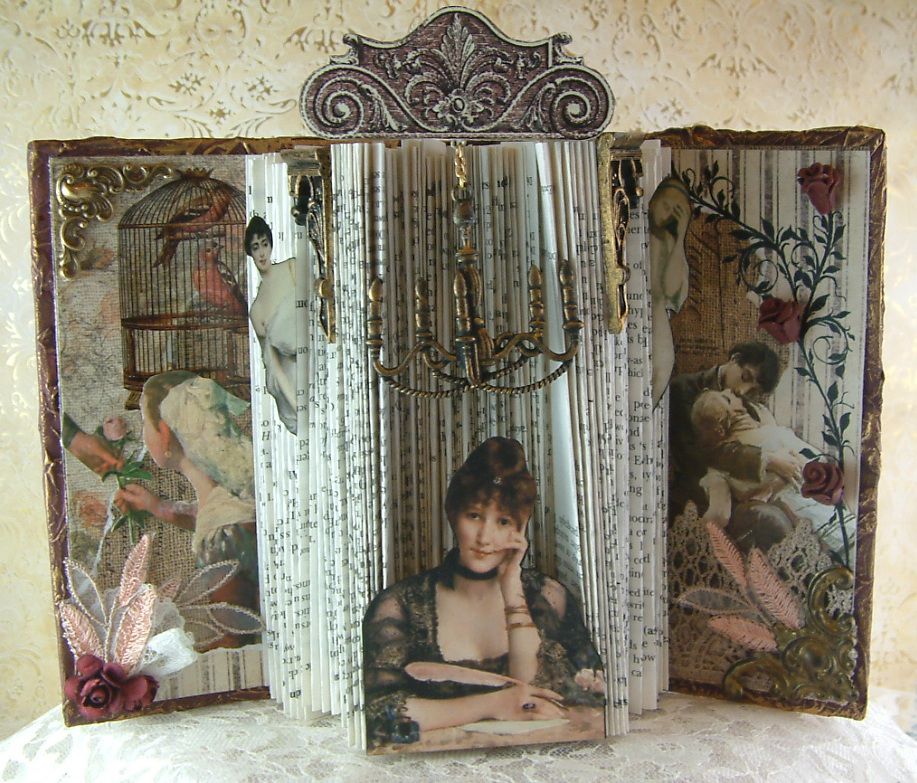
same tissue paper technique I used for the Dreaming of Romance Book.  I will have a video tutorial posted for you this weekend that walks step by step through the process.
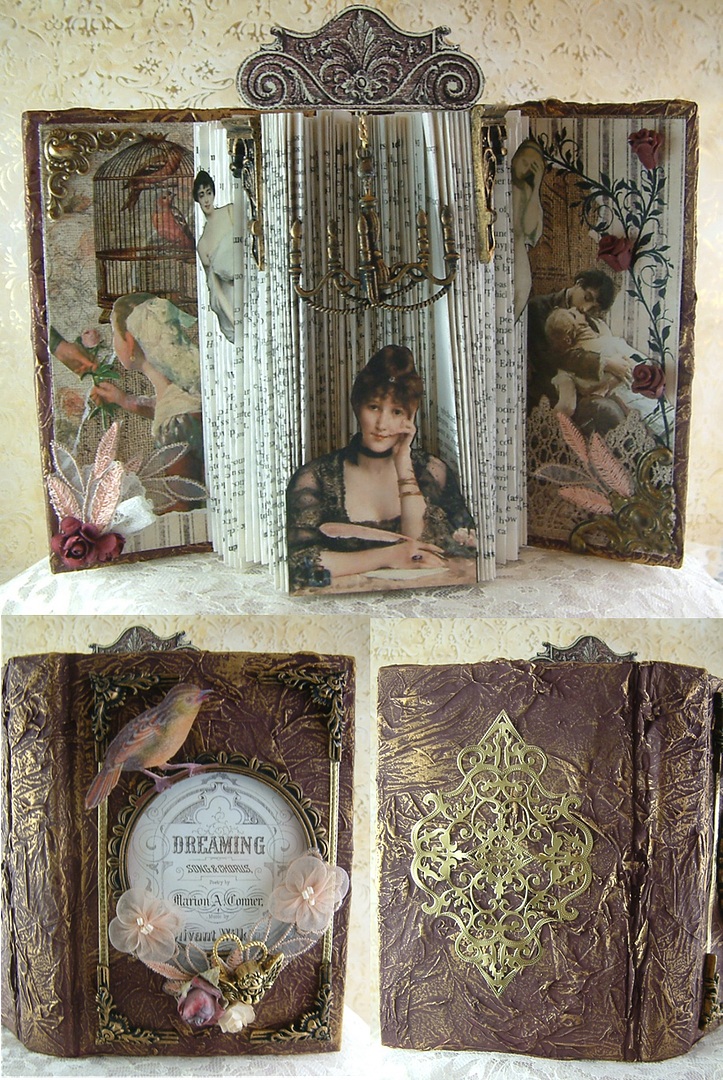
On the front of the book I cut a hole in the cover and through several pages of the book to accommodate embedding an ATC that is made from paper clay.  The clay has been stamped with various rubber stamps and painted with inks and metallic paints.  To see a detailed post on the techniques used click here “Egyptian Stamped Paper Clay ATC”.
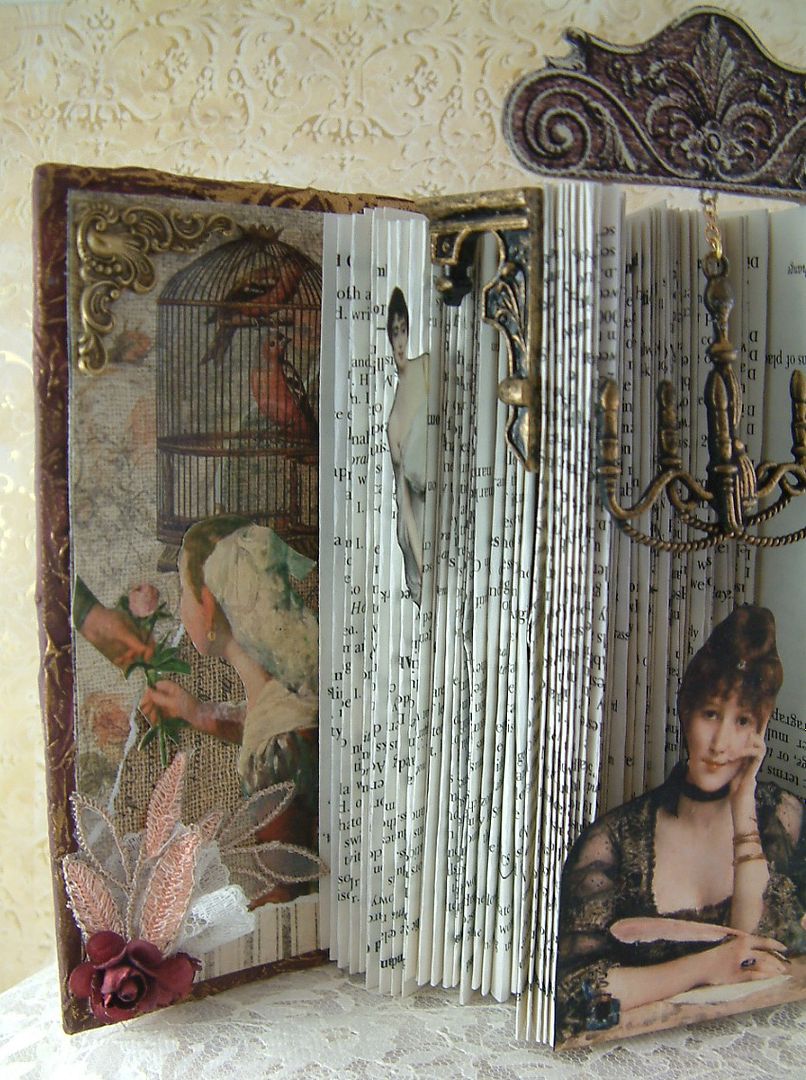
Inside the book I’ve decorated two pages with stains, papyrus, stamped clay, transparencies and various metal bits.  I’ve also included and ancient Egyptian poem.
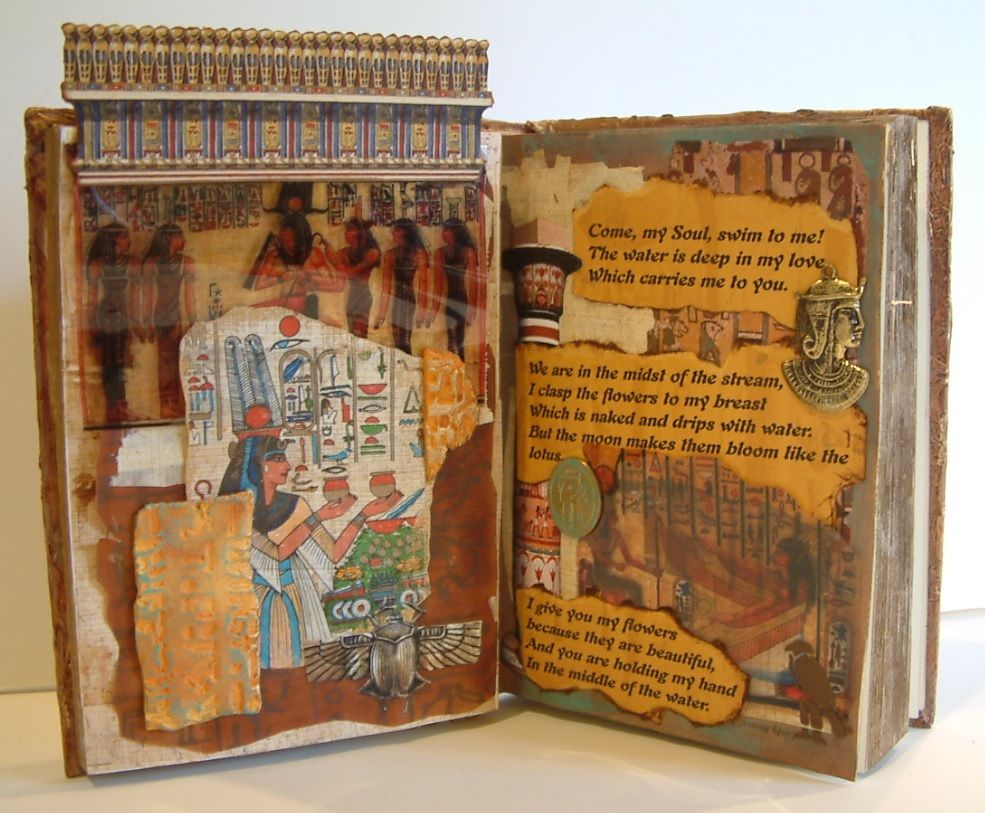
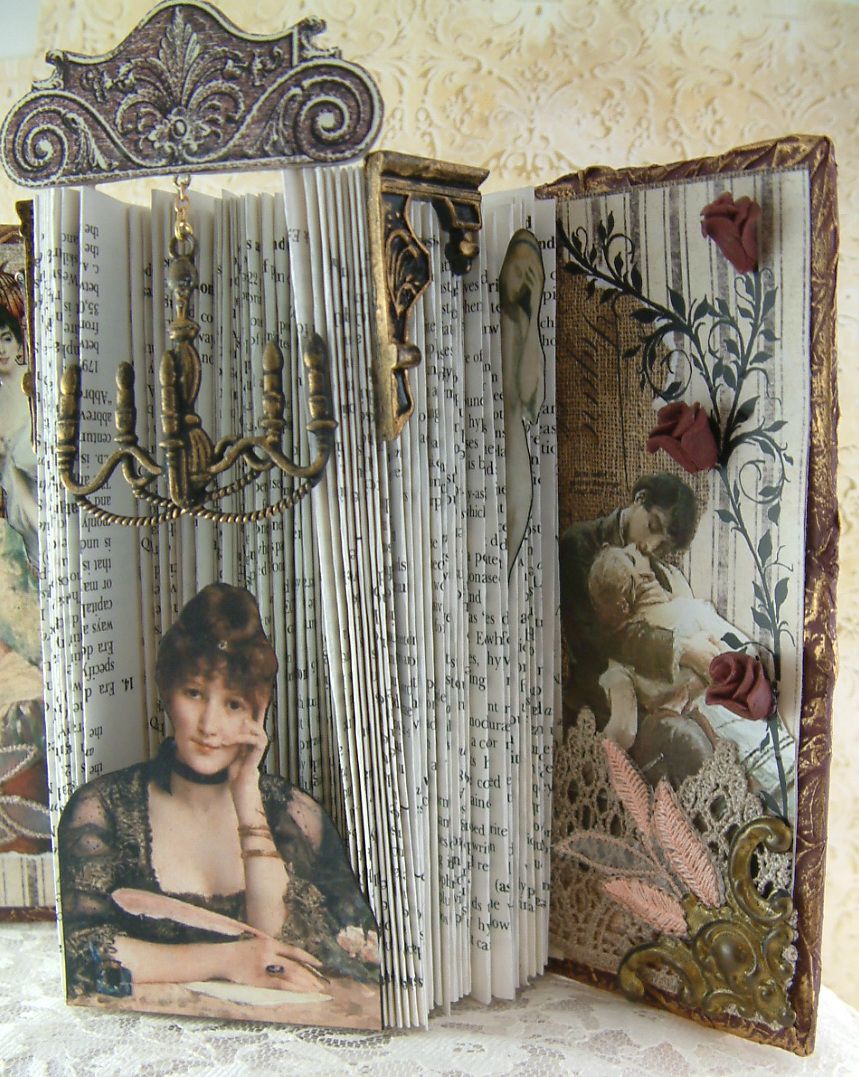
I’ll probably add more to the inside of the book when it returns to me but I wanted to leave plenty of room for the girls to work.  Karol’s book is already here so I’ll be sharing that with you next month.
I hope you’ll come back this weekend and checkout the Tissue Paper Texture Video Tutorial.

Tuesday, February 19, 2013

Marie Antoinette Inspired Matchbox Chest

I’m hosting a vintage French themed matchbox chest swap in the Marie Antoinette Mail Art Group.  This is my chest for the swap.
This is probably the most elaborate chest I’ve made to date.
There are a few differences in this chest and in the one in the video tutorial.  For this chest I added two layers of foam core to the bottom and two layers to the top.  This was to accommodate the décor on the front and to give me a place to attach the frame on the top.  I glued two needles to the back of the frame and stuck them into the foam core on the top.   

Saturday, February 16, 2013

Valentine Exploding Carousel Box

Every year I make my husband something for Valentine’s Day.  This year it is an exploding carousel box; exploding as in when you lift the top the side panels of the box fall down.  The bottom box opens to reveal chocolate hearts and the box top contains an altered bottle with a love note inside (I won’t be showing you that!).  The overall dimensions of the piece are 10 ½” tall by 4 ½” wide and deep.
The basic carousel box comes in an easy to assemble kit.  The kit contains two boxes and a top.

I started by inking the edges of all three pieces and then covering all of the surfaces with Scribe Notes Scrapbook Paper.
Instead of putting the smaller box into the larger one (as the picture shows above), I decided to use the smaller box as a base.  I glued all of the sides of the smaller box together except for one.  By pulling the chain you can open the bottom box to reveal the candy inside.  The chains are attached with Tiny Non-Thread Screw Eyes and E 6000 glue.  The small box is glued to the bottom of the large box.  I did end up gluing a heart to the side that opens so make it easier to find.  I used a Candlestick Holder as a base below the smaller box.
To the top box I added chains and hearts between each panel which are held in place the same way as the chains on the smaller bottom box.
On the sides of the large box I attached a combination of a piece of Filigree, a Cherub Button, Black Blooms tipped with Goldenrod Stickles, Red Roses and Rose Buds.

Before gluing the top together, I used a hole punch to punch a hole in center to accommodate the Hexagon Lantern.  Then I glued the top together with the lantern in the hole and secured the lantern underneath the top with E 6000 glue.  The red hearts are stickpins.  I threaded the beads onto the stickpins and then poked them through the top at the seams (after the top was assembled).  I snipped off the excess stickpin.  I used a little E-6000 glue to keep the beads and stickpin in place.

One thing to note is to make sure if you poke something through the top it is not going to interfere with putting the lid on the large box and anything else in the box (small box, bottle, etc.).  You’ll note in the picture that the stickpin is about a ½ an inch back from the edge.

Inside the large box I used images from three different collage sheet (listed in the supply list below) and some romantic words in French.  I think everything looks better written in French.
Inside of the box is an altered bottle.  I used the Large Slope Shoulder Bottle you’ve seen me use in several tutorials.
I first applied some black rub-ons then Inca Gold Gilders Paste, then red rub-ons.
Next, using Glossy Accents, I glued on gold and black mica flakes, gold beads and cheesecloth dyed with Red Pepper Alcohol Ink.
Alpha Stamps Products Used In This Project:
Items Used on the Lid of the Box:
Items Used on the Large Top Box:
Items Use on the Small Box:
Items Used on the Bottle:

Friday, February 15, 2013

Winner of the Purple Valentine Blog Hop Giveaway

Random.org has spoken and the winner is:
ROBIN PARKER (Birdnest)
Congratulations!!

Robin please contact me as I need your address.  Thanks!

Monday, February 11, 2013

Thursday, February 7, 2013

Dreaming of Romance - Altered Book

The inspiration for this piece is a new collage sheet designed by my friend Carolyn Ouzts-Hay and fellow Alpha Stamps Design Team Member.  If you participate in Alpha Stamp swaps, you know her as your swap hostess.  I’ve seen so much fabulous book art on Pinterest and have been itching to do something myself.  Caroline’s beautiful collage sheet available at Alpha Stamps is titled “Paintings of Romance“  and it is filled with lovely images of women and couples. 
This project started with a book.  I used tissue paper to create the texture on the covers.  I’ll be demonstrating this technique for you in a future tutorial.
The gold design on the back is a sticker.

I removed about a fourth of the pages.  Next, I folded the pages in sections with some folded at different depths than others.  Folding the pages holds the book open and creates a place to attach the pediment (which is attached with flat toothpicks glued into the folded pages) and the chandelier.  
The folded pages make great places to insert images.
The pediment at the top of the book is from an Alpha Stamps collage sheet called “Valentine Banners”.

Tuesday, February 5, 2013

Monday, February 4, 2013

Romance

Over the past few weeks I’ve been working on some Valentine and romance themed art that I’ll be posting during this week and into next week.  For this first piece, I used several images from my new Romance collage sheet that you can purchase at Alpha Stamps.

Other products I used that can be found at Alpha Stamps are:
ATC ARMOIRE
Thank you all so much for all of your wonderful feedback on the armoire!!! 

I’ve decided to make a quick video explaining a few of the supplies you will need so that you can start searching for them and make some decisions about what you want to make.  Finding a suitable cigar box is the most important item and I’ll explain what to look for.  I’ll try to have the video posted sometime next week. 

I’ll plan on having the full video tutorial available sometime in March (it does take a little time to put together) and I’ll update you when I think it will be ready.

I’ve had questions about what if you can’t find or don’t have access to a cigar box.  There is no reason why you can build one to use for this project and I’ll cover that as well in the tutorial.


Saturday, February 2, 2013

ATC Armoire

This ATC Armoire is something I’ve been thinking about for a while.  It’s my first stab at it so I think of it as kind of a “proof of concept”.  The first one is where I work out all of the issues.  I’m anxious to see what you all think of it.  If you like it, I’m thinking it could be a good subject for a video tutorial.  
I’ve also had some thoughts about other ways to approach it (as in other types of containers to use).  This Armoire is made from a cigar box.  I’ve also thought of some alternative ways to hang the ATCs.  In this example I’ve used hangars and clothespins.
In addition to the rack to hang the ATCs, I also added a row of matchboxes in the bottom.  I thought added to the idea of the piece being an Armoire.
You can store other items like maybe inchies in the drawers or perhaps clothespins.
Although I’ve gone with a regency style theme on this one, you could choose any theme for the décor.  Below are pictures of the inside of the doors.  With this project there are so many great surfaces to decorate.
The images of the regency style ladies on the outside of the armoire (in the pictures below) are courtesy of Evelyn Duncan.  She offers beautiful images for free on her blog “My Fanciful Muse”.
I decorated the top of the armoire with flowers and a stack of hatboxes made from jeweler’s tins.
I’m thinking this project would also work for tags, altered postcards and other art pieces.  I would love your feedback if you would like to see this as video tutorial.